How to Protect your Azure Resource from Accidental Deletion
Imagine a scenario where you have put so much effort to make a website live and on the day of launching, the website, you were surprised to see a “404 Not Found” message on the browser. This kind of nightmare can give you weeks of sleepless nights.
In order to deal with the above-mentioned issue, Microsoft has provided a great feature in Azure wherein you can apply a lock on the resource, which will prevent the resource from being accidentally deleted. A simple feature but very useful.
What are resource locks?
Resource locks are a setting that can be applied to any resource to block modification or deletion.
Types of Resource Locks:
- Delete
- Read-only
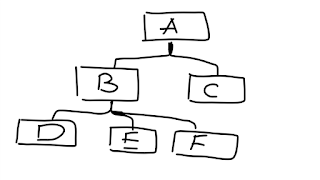
Delete will allow all operations against the resource but block the ability to delete it. Read-only will only allow read activities to be performed against it, blocking any modification or deletion of the resource. Resource locks can be applied to subscriptions, resource groups, and to individual resources, and are inherited when applied at higher levels.
Applying Read-only can lead to unexpected results because some operations that seem like read operations require additional actions. When a resource lock is applied, you must first remove the lock in order to perform any activity. Resource locks apply regardless of RBAC permissions.
How to create a Resource Locks?
a) Locate the resource and click on the resource in the “All Resource” page, you want to apply the lock on.
A new lock property will get created. We can edit the lock property if needed.
So, in this way we can protect our resources and the efforts we took to make it live.
This blog is also published on Voksedigital website.
This blog is also published on Voksedigital website.


Comments
Post a Comment